Creating a Google Cloud Billing Account
Google Cloud Billing Accounts allow you to configure payment and track spending in GCP.
Prerequisites
Before setting up your Google Cloud Billing Account:
- Decide what email address to use. The email you choose must be associated with a Google ID (see Obtaining a Google ID) and must be the email you will use to log in to Terra.
- Decide what payment method (credit card, debit card, PayPal, or bank account) you will use.
- Determine if you will set up as an individual or business. If you are setting up an account for a company, organization, lab, or institution, select "Business." If you are setting up as yourself, choose "Individual."
Setup Guide
To create your first Google Cloud Billing Account:
- Sign in to the Manage billing accounts page in the Google Cloud Console. If this is your first time logging into GCP, you will be asked to agree to the terms of service. Sign in to GCP Manage Billing Accounts
- Login with, or switch to, the correct Google ID (email).
- Select your organization from the Select your lab from the "Select an organization" if the dropdown is available.
- If you are not already on the "MY BILLING ACCOUNTS" tab, select it.
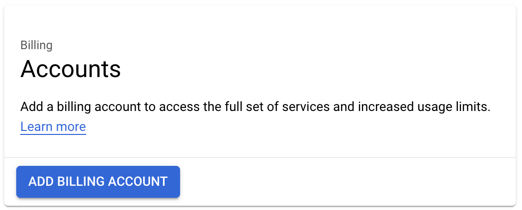
- Select "ADD BILLING ACCOUNT".

- On the next screen, select your country and optionally currency if applicable.
- Select "CONTINUE" and follow the instructions to attach or create a Google Payments Profile to fund the new Google Billing Account.
- Select "START MY FREE TRIAL".
Viewing your new GCP Billing Account
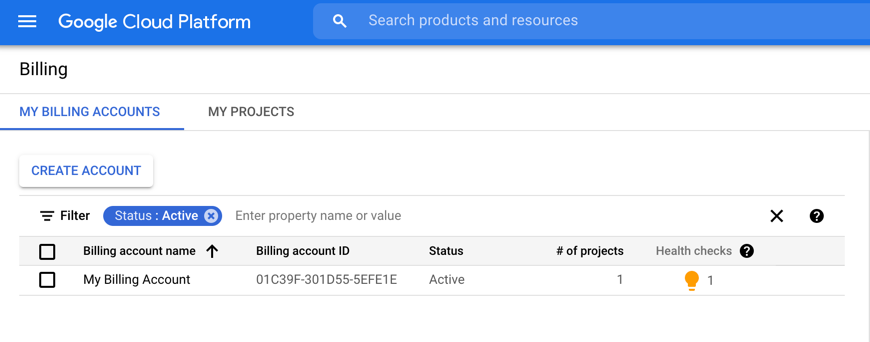
The first time a GCP Billing Account is created it is named "My Billing Account" by default.
To view and modify this billing account:
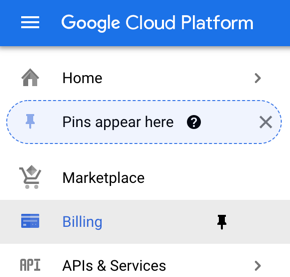
- Select billing in the "Navigation" menu.

- Select the "MY BILLING ACCOUNTS" tab.

For more information on creating billing accounts, see Create, modify, or close your Cloud Billing account.
Help us make these docs great!
All AnVIL docs are open source. See something that’s wrong or unclear? Submit a pull request.
Make a contribution